The first idea I had for hosting this website was on a RedHat EC2 instance I already had set up. I installed LAMP (Linux, Apache, MySQL and PHP), Ruby and Jekyll (a static site generator). Unfortunately, Jekyll doesn’t play well RedHat. This made getting it working way more effort than it was worth. I began exploring what other offerings AWS had for hosting static websites. One of these is AWS Amplify.
As written on the Jekyll website: “The AWS Amplify Console provides continuous deployment and hosting for modern web apps (single page apps and static site generators). Continuous deployment allows developers to deploy updates to their web app on every code commit to their Git repository.”
Perfect! A simple solution is of course preferable to a complex one. Especially when it provides added functionality like continuous integration via GitHub.
Below I will outline the steps needed to set up a website like this one, using any theme you like. However, this is just the initial setup. To add your blog posts, contact details, etc. you’ll have to play around with the code some more.
Some prerequisites:
- Basic proficiency with GitHub + GitHub account
- GitHub Desktop installed & logged in
- AWS Account (everything here can be done with the free tier)
- A domain name already purchased and you know how to edit DNS records (optional)
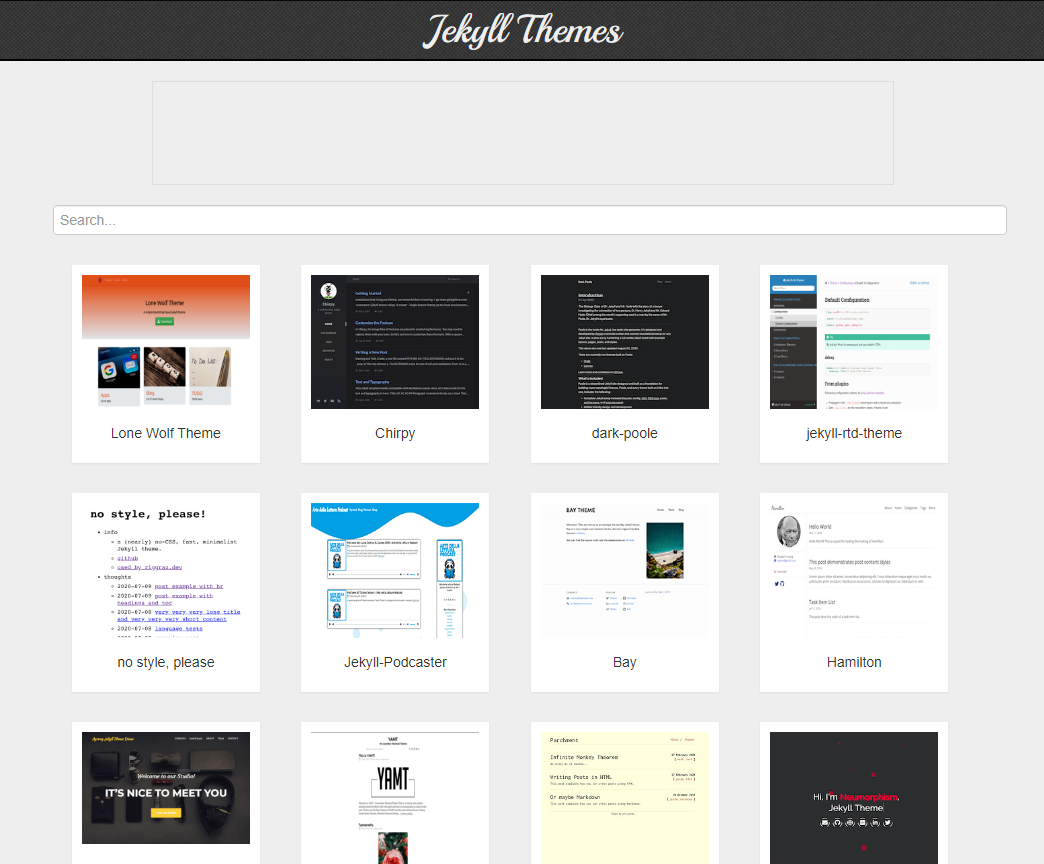
The first step is to go shopping for what Jekyll theme you want to use. This is the fun part. There are plenty of websites that list themes but the one I like is jekyllthemes.org, as pictured below.
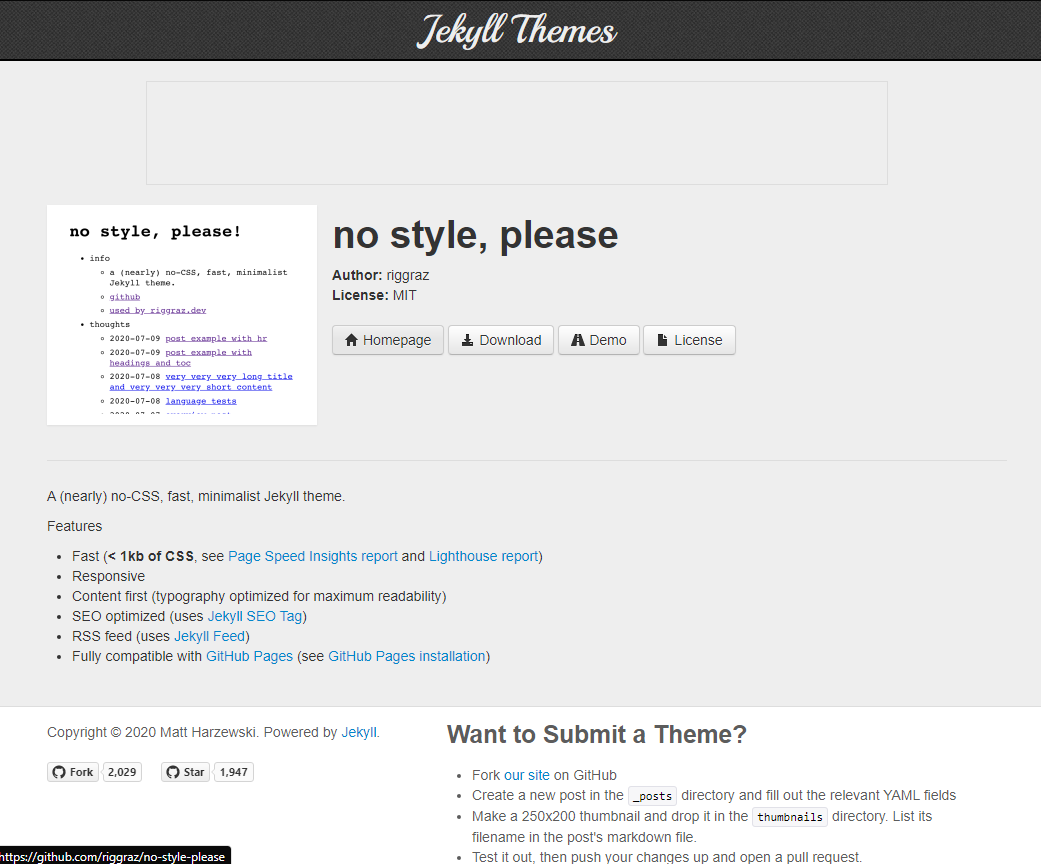
Once you’ve found a theme you like click on the Homepage button to go to their GitHub. For this demo, I’ll be using the no style, please theme.
Once on the GitHub page click on ‘code’ and then download zip.
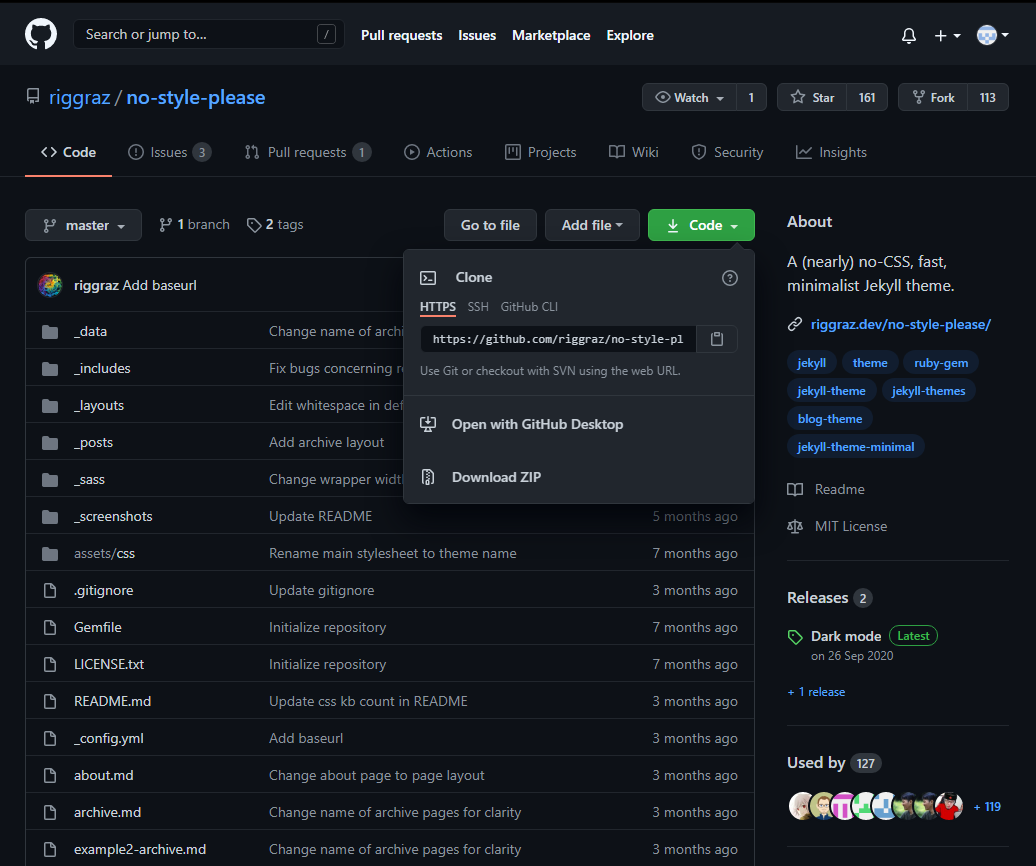
Extract this zip to somewhere you want to keep the files for your website.
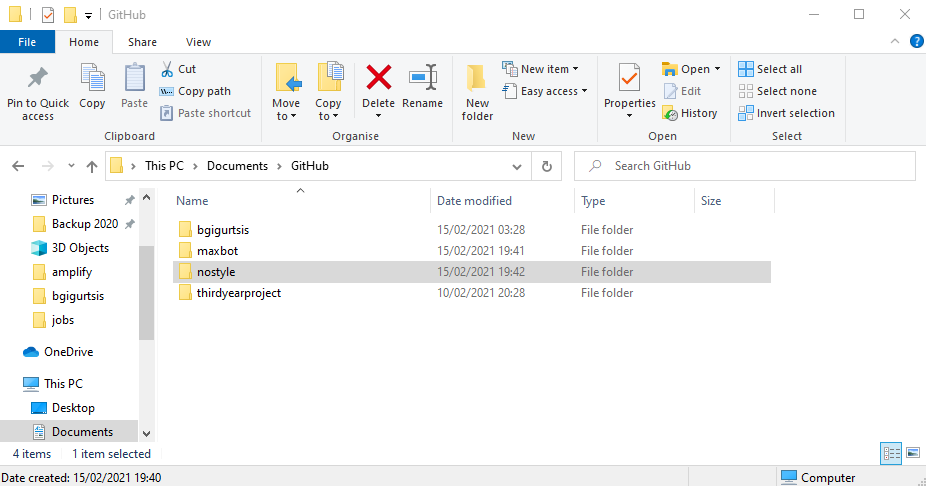
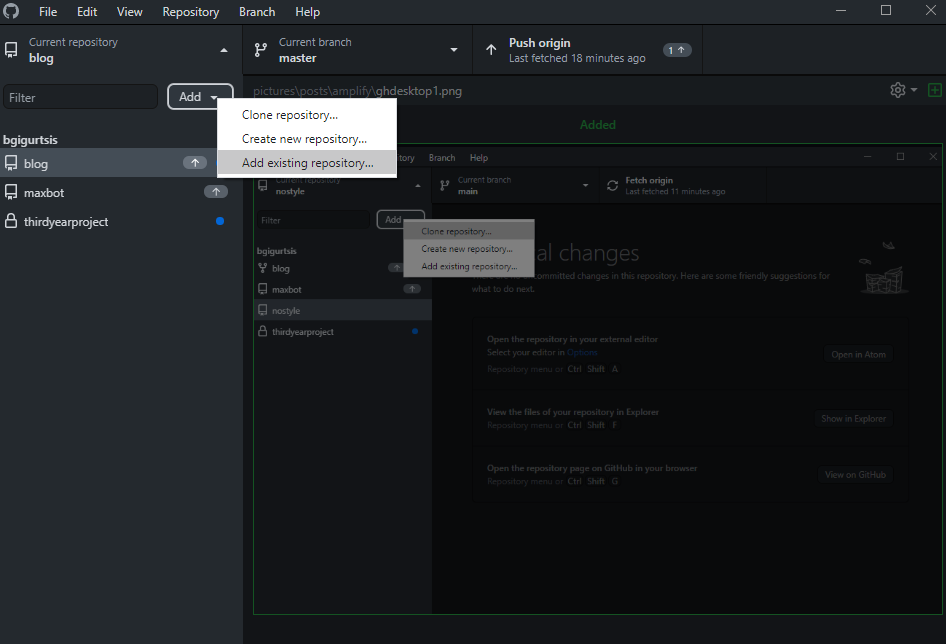
Open GitHub Desktop, click ‘Add’ and then ‘Add Existing Repository. Navigate to the folder you extracted and press OK.
GitHub will complain that there is no repository there and ask if you want to make one, click yes. After that repository has been added to your list click ‘Publish Repository’ in the top right.
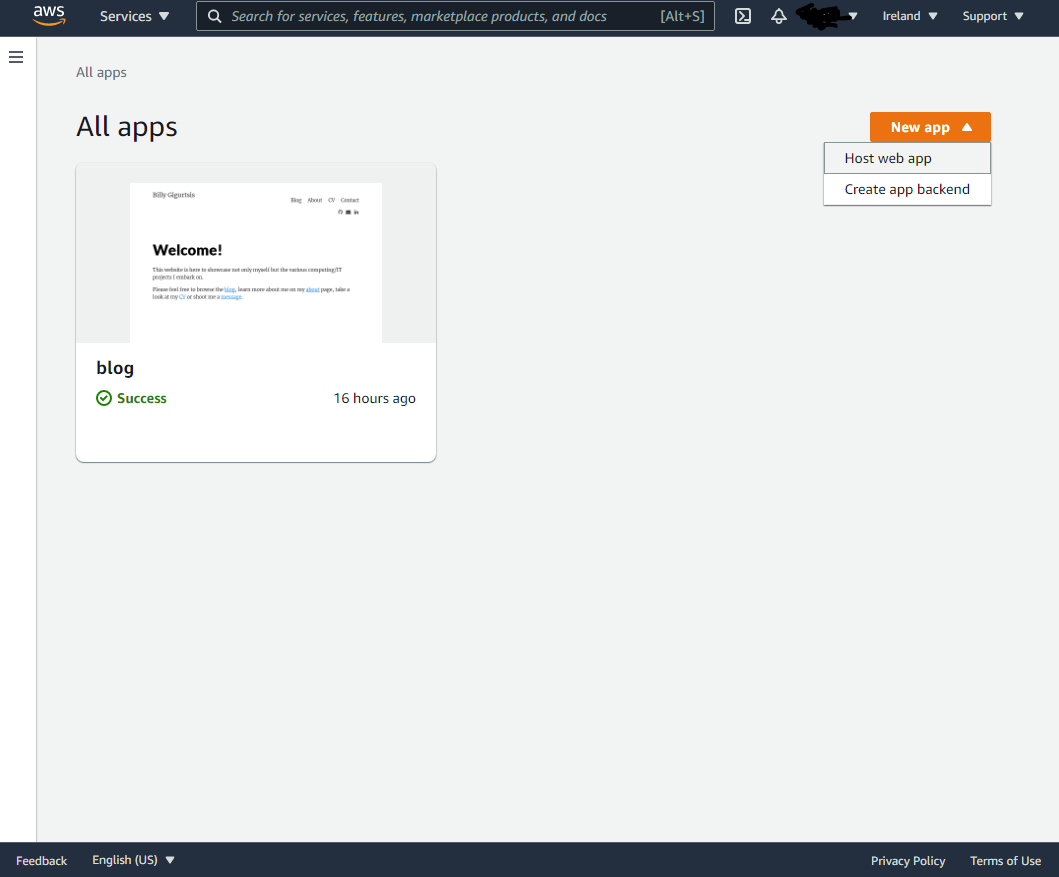
Go ahead and log in to AWS and search for ‘Amplify’ at the top. Load up the Amplify Console then click New App > Host Web App.
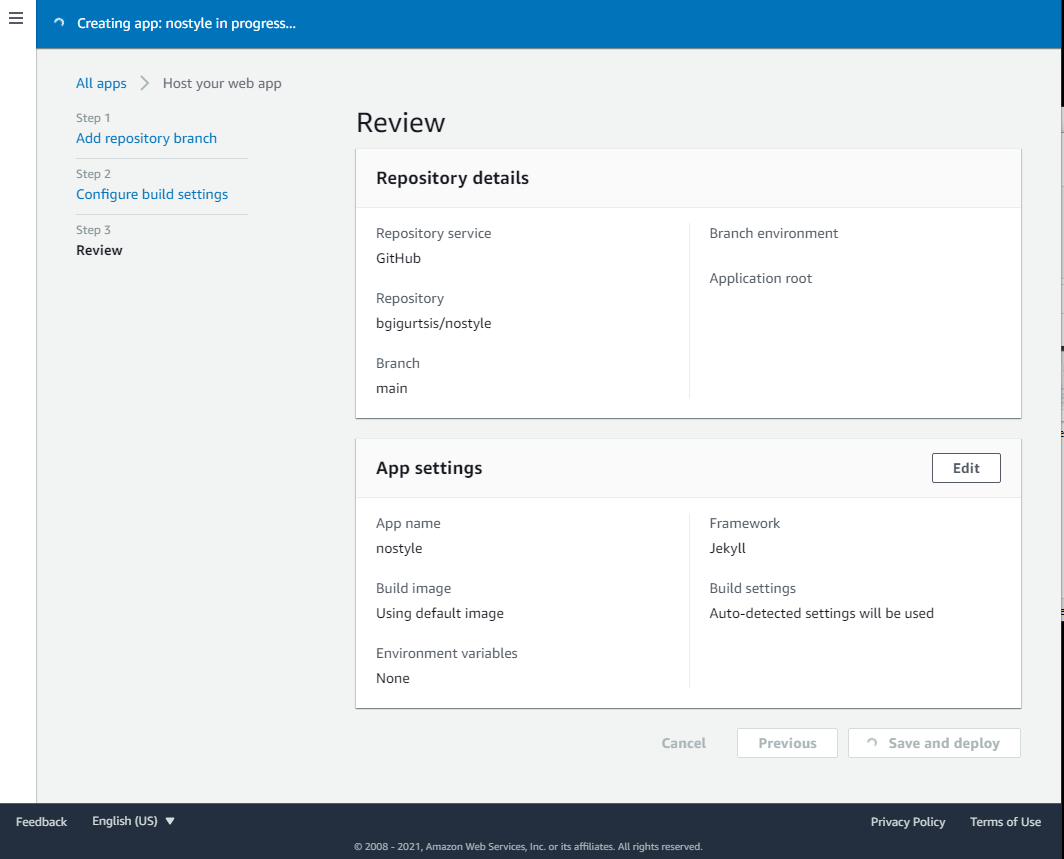
Login with GitHub and pick the repository that you added earlier, then continue with the setup until completed. It’s pretty straightforward.
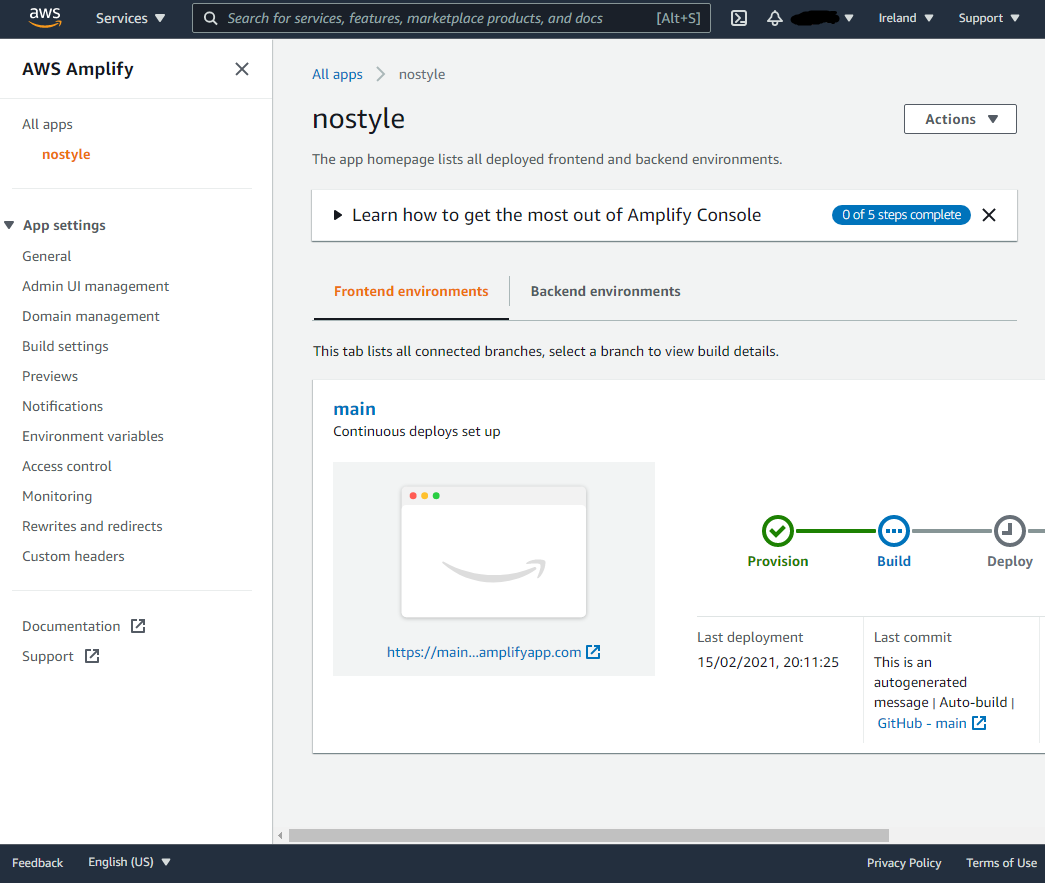
If done correctly you should see this page below and the build should (after a few minutes) build, deploy and verify.
OPTIONAL
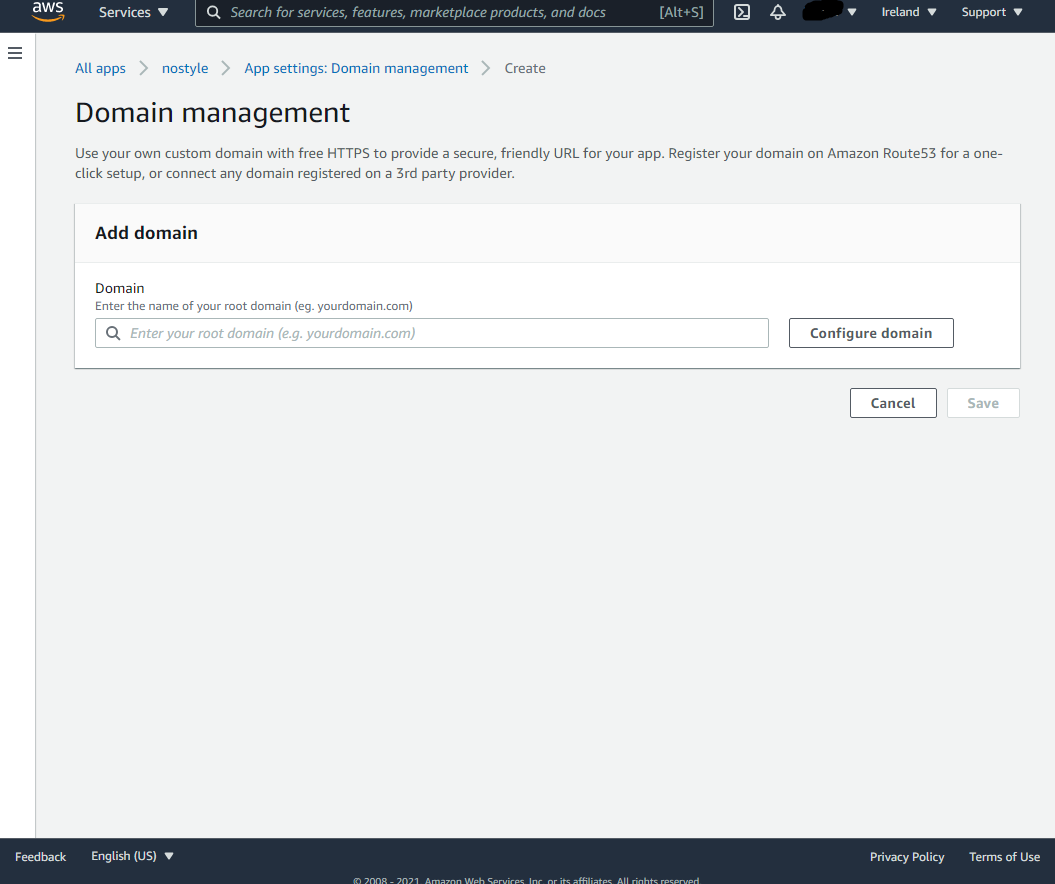
If you have your own domain proceed to Domain Management on the left and add your domain.
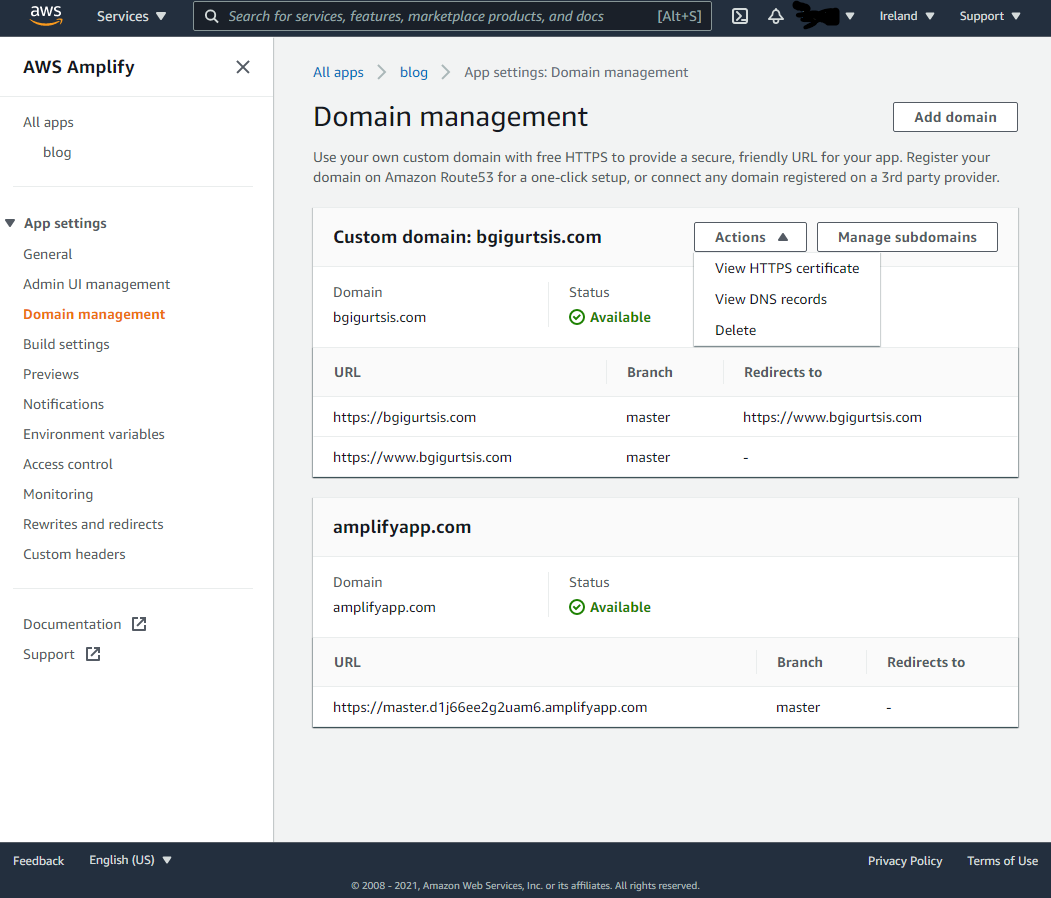
After it’s been successfully added and processed you’ll be able to ‘View DNS records’.
Follow the steps listed, adding the DNS records where you manage your domain. Your domain provider should have a guide for this if you’re not sure how. After a few minutes - 48 hours your DNS will update and your website will be ready!
That’s it! You’re done. To add your content/edit the website, you’ll have to change the files as they appear on GitHub. There are lots of editors/IDEs that integrate with GitHub for this. I love using GitHub’s text editor Atom. This has beautiful Git integration making editing and pushing the changes to GitHub super easy.
Not sure what files change what in your Jekyll theme? Take a look at the original GitHub (where you downloaded the theme). If the theme is any good it will have plenty of instructions on how/what to edit. Good luck!